Create a Snowflake Data Source
Follow these steps to connect to Snowflake and create a Snowflake data source:
Refer to Additional Information for additional performance tips and information about Snowflake feature support.
Configure User Access Rights
We recommend creating a dedicated user and user role specifically for integrating with GoodData.
Steps:
Create a user role and grant it the following access rights:
GRANT USAGE ON WAREHOUSE {warehouse_name} TO ROLE {role_name};
GRANT USAGE ON DATABASE {database_name} TO ROLE {role_name};
GRANT USAGE ON SCHEMA {database_name}.{schema_name} TO ROLE {role_name};
GRANT SELECT ON ALL TABLES IN SCHEMA {database_name}.{schema_name} TO ROLE {role_name};
GRANT SELECT ON FUTURE TABLES IN SCHEMA {database_name}.{schema_name} TO ROLE {role_name};
GRANT SELECT ON ALL VIEWS IN SCHEMA {database_name}.{schema_name} TO ROLE {role_name};
GRANT SELECT ON FUTURE VIEWS IN SCHEMA {database_name}.{schema_name} TO ROLE {role_name};
Create a user and assign them the user role:
GRANT ROLE {role_name} TO USER {user_name};Make the user role default for the user:
ALTER USER {user_name} SET DEFAULT_ROLE={role_name};
Snowflake Authentication Options
Snowflake supports two types of authentication:
- Key Pair Authentication (Recommended): Requires a private key and optional encryption passphrase.
- Basic Authentication: Requires a user password.
Snowflake is deprecating password-based Basic Authentication. Data sources using this method of authentication will cease to work by November 2025. Use Key Pair authentication instead.
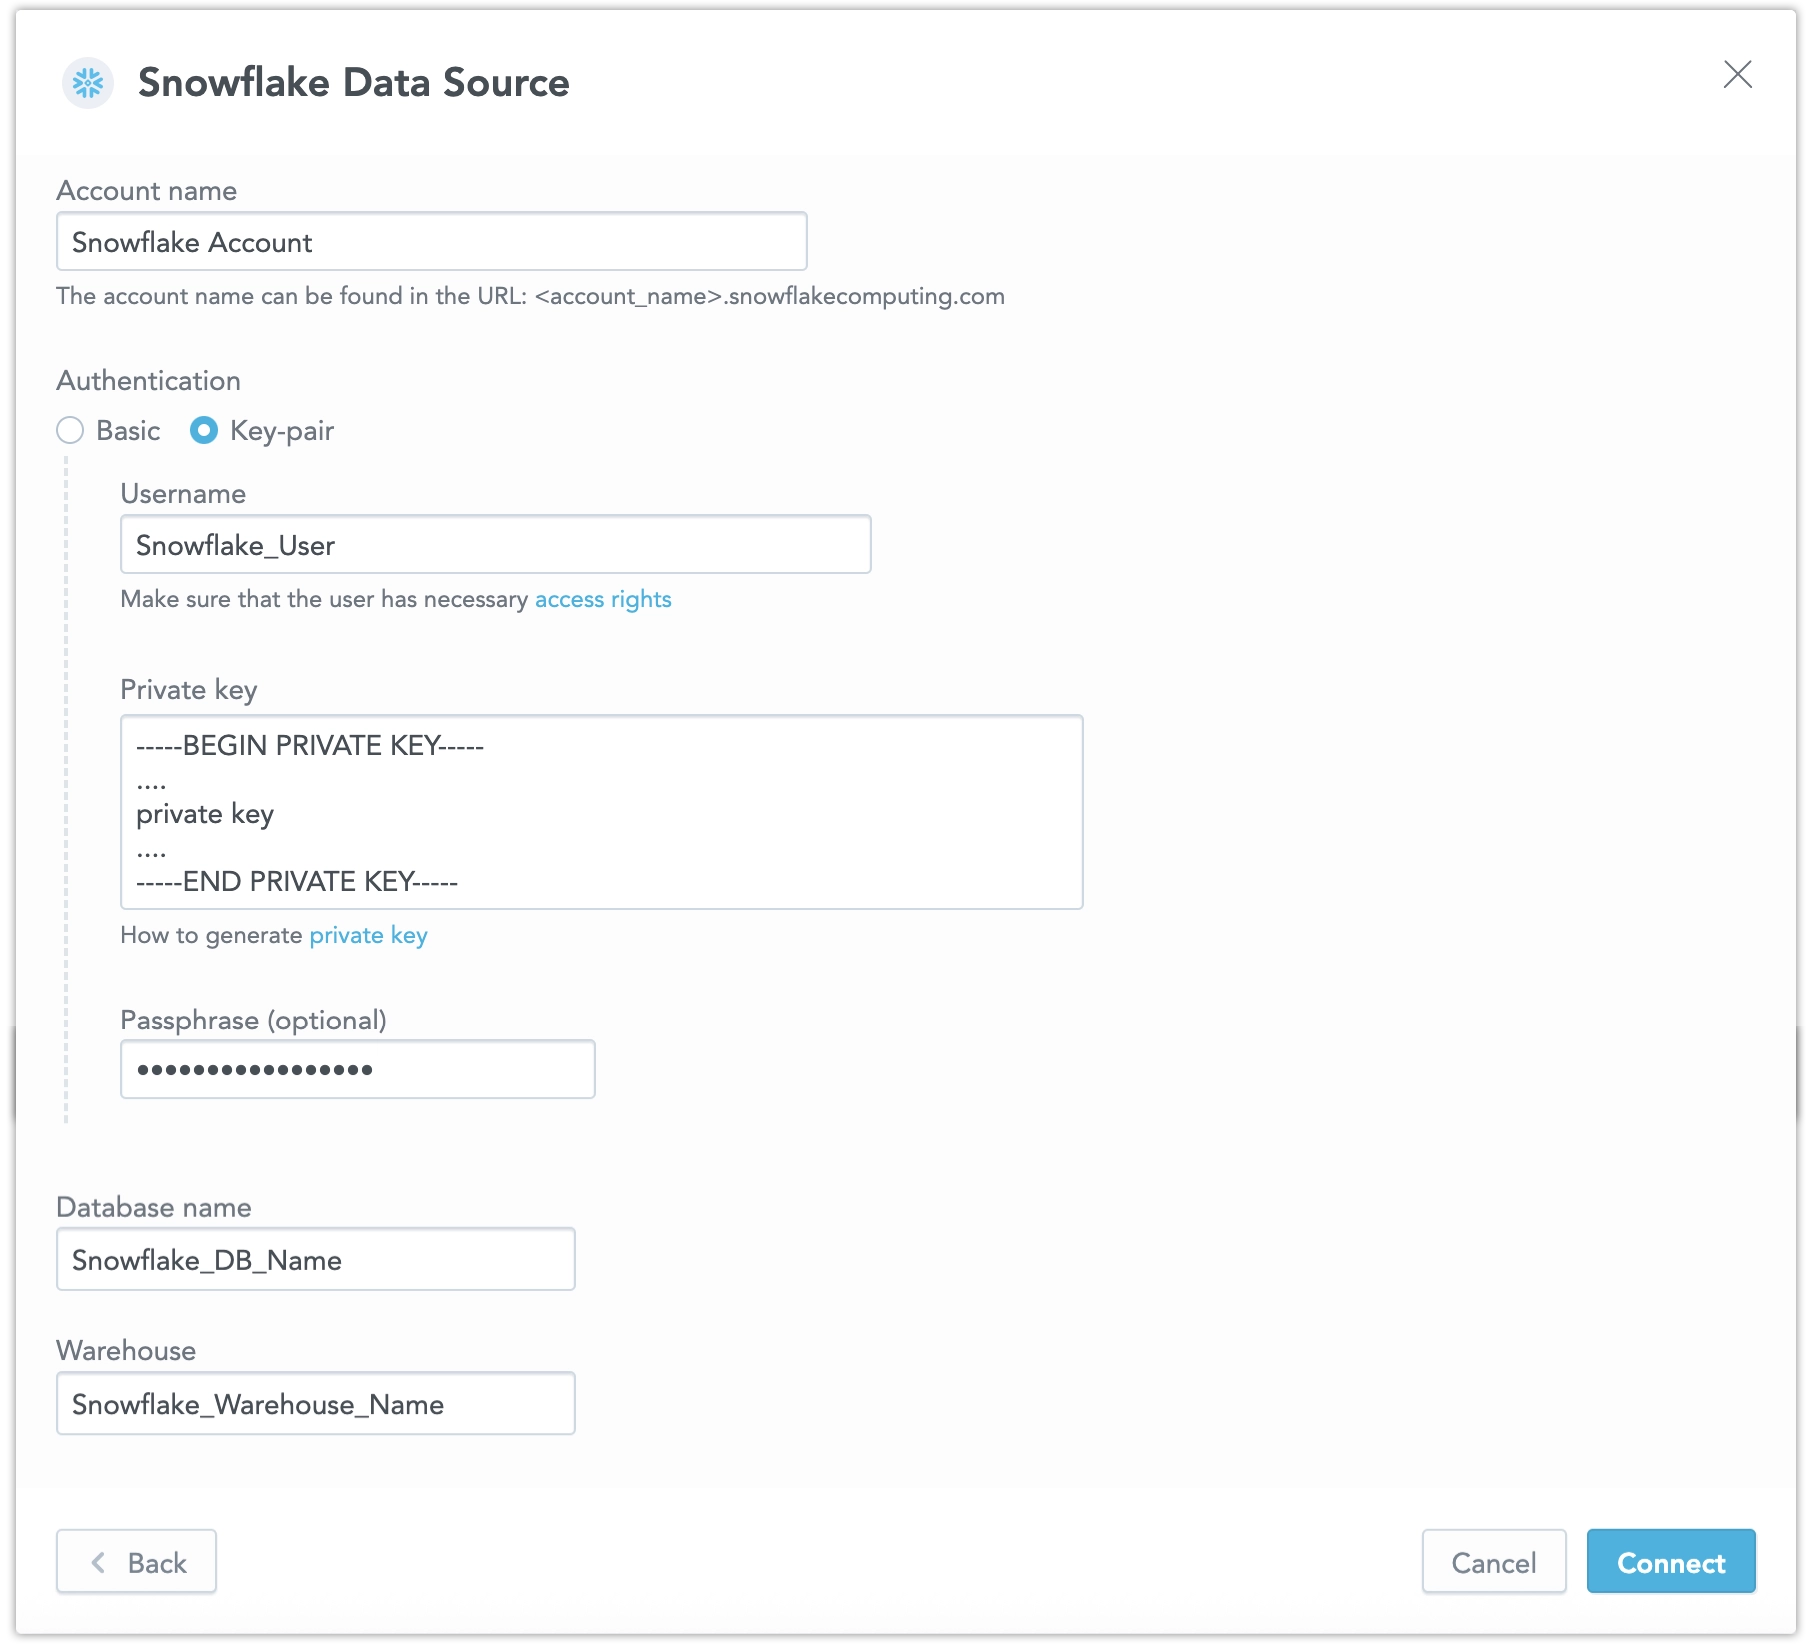
When using Key Pair authentication, enter the private key exactly as generated, including the prefix (-----BEGIN PRIVATE KEY-----), suffix (-----END PRIVATE KEY-----), and line breaks.
For instructions on generating private keys, see Snowflake’s documentation.
Create a Snowflake Data Source
Once you have configured your Snowflake user’s access rights, you can proceed to create a Snowflake data source that you can then connect to.
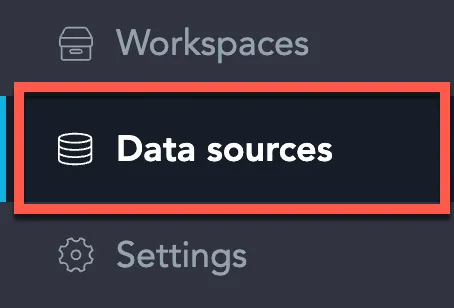
On the home page switch to Data sources.
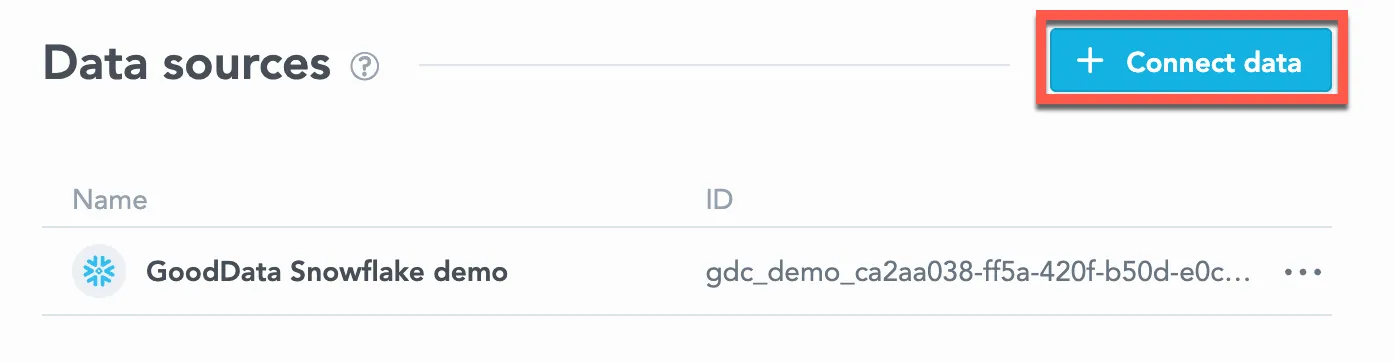
Click Connect data.
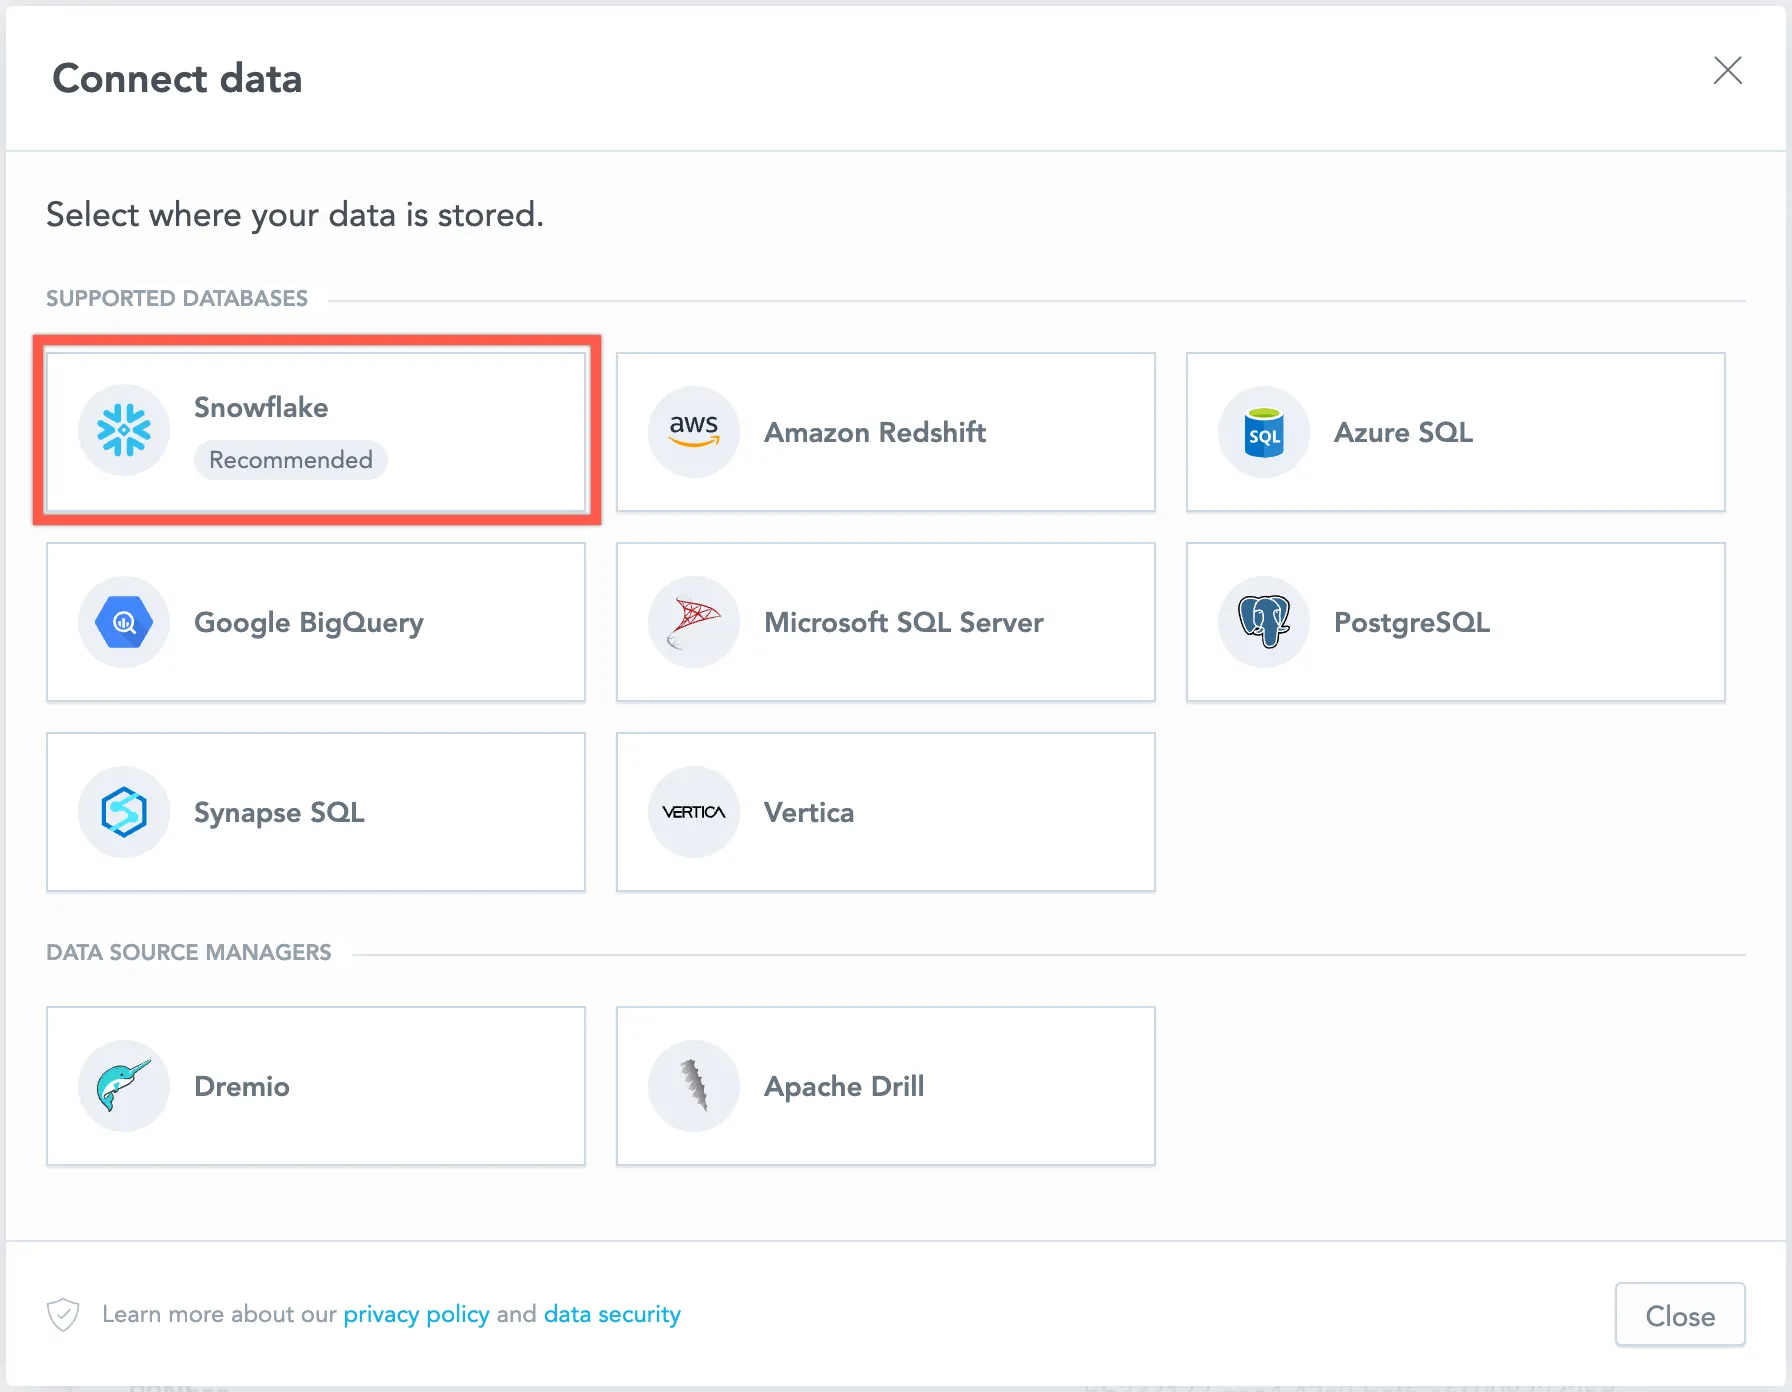
Select Snowflake.
Name your data source, select Authentication: Key Pair, fill in your Snowflake credentials, and click Connect.
Input your schema name and click Save:
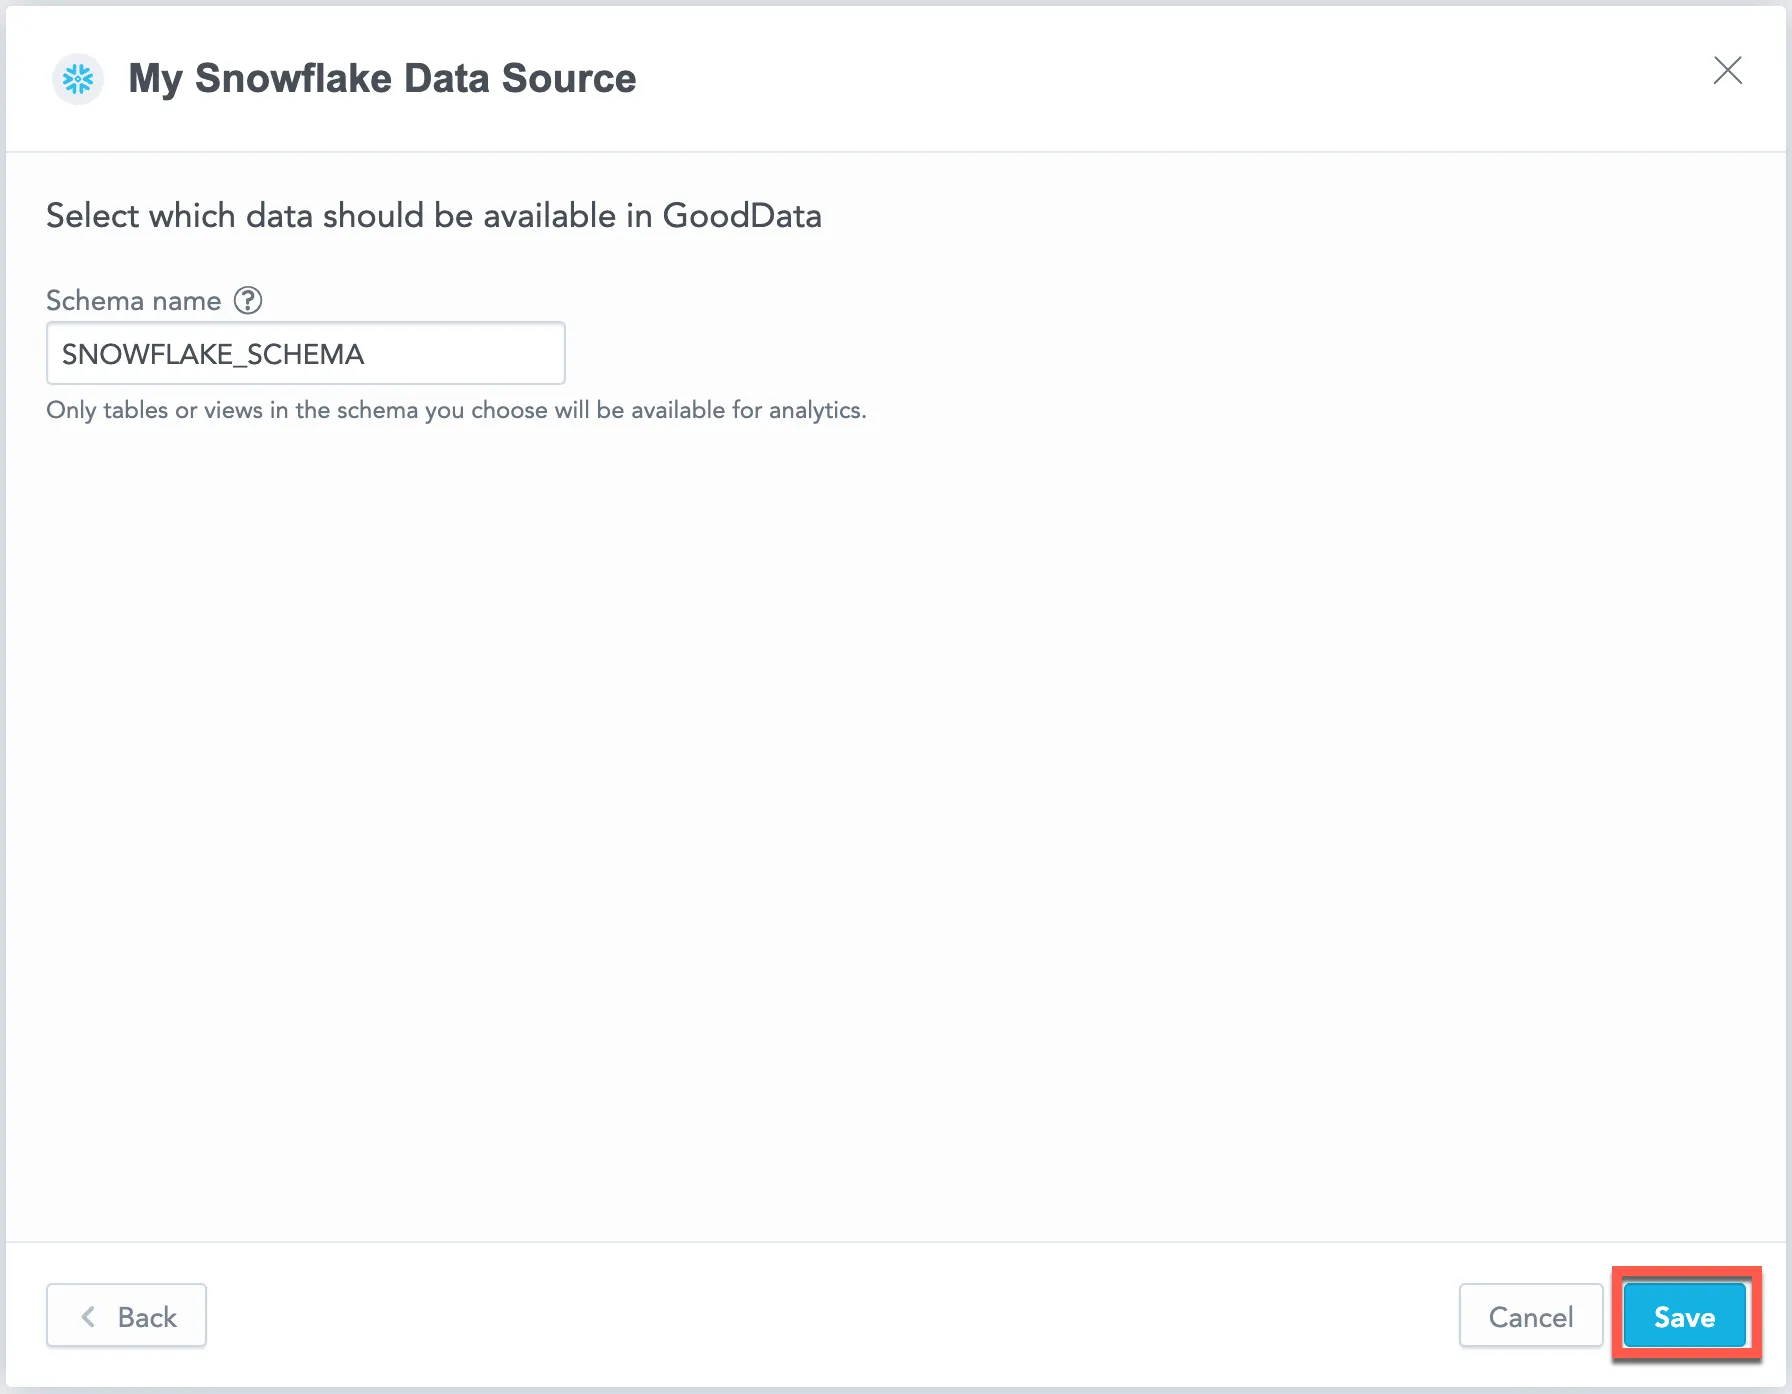
Your data source is created!

Create a Snowflake data source using Key Pair authentication with the following API call:
curl $HOST_URL/api/v1/entities/dataSources \
  -H "Content-Type: application/vnd.gooddata.api+json" \
  -H "Accept: application/vnd.gooddata.api+json" \
  -H "Authorization: Bearer $API_TOKEN" \
  -X POST \
  -d '{
    "data": {
    "type": "dataSource",
    "id": "<unique_id_for_the_data_source>",
    "attributes": {
      "name": "<data_source_display_name>",
      "url": "jdbc:snowflake://<SNOWFLAKE_ACCOUNT>.snowflakecomputing.com:5432?warehouse=<SNOWFLAKE_WAREHOUSE>&db=<SNOWFLAKE_DBNAME>",
      "schema": "<SNOWFLAKE_SCHEMA>",
      "type": "SNOWFLAKE",
      "username": "<SNOWFLAKE_USER>",
      "privateKey": "<SNOWFLAKE_PRIVATEKEY>",
      "privateKeyPassphrase": "<SNOWFLAKE_PRIVATEKEY_PASSPHRASE>" # This parameter is optional.
    }
    }
  }' | jq .
Alternatively, you can still create a Snowflake data source using Basic Authentication (deprecated by Snowflake) with the following API call:
curl $HOST_URL/api/v1/entities/dataSources \
  -H "Content-Type: application/vnd.gooddata.api+json" \
  -H "Accept: application/vnd.gooddata.api+json" \
  -H "Authorization: Bearer $API_TOKEN" \
  -X POST \
  -d '{
    "data": {
    "type": "dataSource",
    "id": "<unique_id_for_the_data_source>",
    "attributes": {
      "name": "<data_source_display_name>",
      "url": "jdbc:snowflake://<SNOWFLAKE_ACCOUNT>.snowflakecomputing.com:5432?warehouse=<SNOWFLAKE_WAREHOUSE>&db=<SNOWFLAKE_DBNAME>",
      "schema": "<SNOWFLAKE_SCHEMA>",
      "type": "SNOWFLAKE",
      "username": "<SNOWFLAKE_USER>",
      "password": "<SNOWFLAKE_PASSWORD>"
    }
    }
  }' | jq .
See the API reference guide for further details.
To confirm that the data source has been created, ensure the server returns the following response:
{
  "data": {
    "type": "dataSource",
    "id": "<unique_id_for_the_data_source>",
    "attributes": {
      "authenticationType": "<type-of-authentication>",
      "name": "<data_source_display_name>",
      "url": "jdbc:snowflake://<SNOWFLAKE_ACCOUNT>.snowflakecomputing.com:5432?warehouse=<SNOWFLAKE_WAREHOUSE>&db=<SNOWFLAKE_DBNAME>",
      "schema": "<SNOWFLAKE_SCHEMA>",
      "type": "SNOWFLAKE",
      "username": "<SNOWFLAKE_USER>"
    }
  },
  "links": {
    "self": "$HOST_URL/api/v1/entities/dataSources/<unique_id_for_the_data_source>"
  }
}
Create a Snowflake data source using Key Pair authentication with the following example:
from gooddata_sdk import GoodDataSdk, CatalogWorkspace, BasicCredentials, CatalogDataSourceSnowflake, SnowflakeAttributes

host = "<GOODDATA_URI>"
token = "<API_TOKEN>"
sdk = GoodDataSdk.create(host, token)

sdk.catalog_data_source.create_or_update_data_source(
    CatalogDataSourceSnowflake(
        id=data_source_id,
        name=data_source_name,
        db_specific_attributes=SnowflakeAttributes(
            account=os.environ["SNOWFLAKE_ACCOUNT"],
            warehouse=os.environ["SNOWFLAKE_WAREHOUSE"],
            db_name=os.environ["SNOWFLAKE_DBNAME"]
        ),
        schema=os.environ["SNOWFLAKE_SCHEMA"],
        credentials=BasicCredentials(
            username=os.environ["SNOWFLAKE_USER"],
            privateKey=os.environ["SNOWFLAKE_PRIVATEKEY"],
            privateKeyPassphrase=os.environ["SNOWFLAKE_PRIVATEKEY_PASSPHRASE"], # This parameter is optional.
        ),
    )
)
Alternatively, create a Snowflake data source using basic authentication with the following API call:
from gooddata_sdk import GoodDataSdk, CatalogWorkspace, BasicCredentials, CatalogDataSourceSnowflake, SnowflakeAttributes

host = "<GOODDATA_URI>"
token = "<API_TOKEN>"
sdk = GoodDataSdk.create(host, token)

sdk.catalog_data_source.create_or_update_data_source(
    CatalogDataSourceSnowflake(
        id=data_source_id,
        name=data_source_name,
        db_specific_attributes=SnowflakeAttributes(
            account=os.environ["SNOWFLAKE_ACCOUNT"],
            warehouse=os.environ["SNOWFLAKE_WAREHOUSE"],
            db_name=os.environ["SNOWFLAKE_DBNAME"]
        ),
        schema=os.environ["SNOWFLAKE_SCHEMA"],
        credentials=BasicCredentials(
            username=os.environ["SNOWFLAKE_USER"],
            password=os.environ["SNOWFLAKE_PASSWORD"],
        ),
    )
)
Additional Information
Query Tagging
GoodData can attach query tags to SQL statements so you can trace database workload back to its origin in GoodData. Tags are added automatically to supported executions when query tagging is enabled.
Query tagging is supported for:
- Visualization queries
- Label elements queries (for example, loading attribute values in filters)
Query tagging is not applied to exports (PDF, XLSX, CSV), alerts, or scheduled exports.
What Gets Tagged
Tags include execution context such as:
- Organization ID
- Workspace ID
- User ID
- Execution type (visualization query vs label elements query)
- When available, identifiers of the triggering dashboard and visualization
This metadata is intended for observability and performance troubleshooting. It does not include raw data values.
Enable Query Tagging
Query tagging is controlled by the ENABLE_QUERY_TAGS setting. You can enable it at the workspace level or at the organization level. The setting value is a boolean (true or false).
Example
Enabling query tagging at the workspace level:
curl -H "Authorization: Bearer ${API_KEY}" \
  -X POST \
  -H "Content-Type: application/vnd.gooddata.api+json" \
  -H "Accept: application/vnd.gooddata.api+json" \
  -d '{
    "data": {
      "type": "workspaceSetting",
      "id": "enable_query_tags",
      "attributes": {
        "content": { "value": true },
        "type": "ENABLE_QUERY_TAGS"
      }
    }
  }' \
  "https://${HOSTNAME}/api/v1/entities/workspaces/${WORKSPACE_ID}/workspaceSettings"
Snowflake Notes
Snowflake supports native query tagging. GoodData sets a JSON tag using ALTER SESSION SET QUERY_TAG for the duration of the query and clears it afterwards. You can see the tag in Snowflake query history and monitoring tools that surface the QUERY_TAG field.
Data Source Details
The JDBC URL must be in the following format:
jdbc:snowflake://<db_account>.snowflakecomputing.com:<db_port>?warehouse=<db_warehouse>&db=<db_name>Key Pair authentication does not change the JDBC URL. Provide the username and private key in the credentials fields when creating or editing the data source.
GoodData uses up-to-date drivers.
Performance Tips
If your database holds a large amount of data, consider the following practices:
- GoodData’s connection pool allows for up to 24 connections. Snowflake’s default setting permits only 8 connections. We recommend increasing your Snowflake’s connection pool size to 24.
- Denormalize the relational data model of your database. This helps avoid large JOIN operations. Because Snowflake is a columnar database, queries read only the required columns and each column is compressed separately.
- Spin up databases/instances based on user needs.
- Users with similar needs populate data into caches that are likely reused.
- Isolate data transformation operations running in your database from the analytics generated by GoodData.
- Set up proper auto-scaling based on users needs.
- Utilize materialized views
- Changes to underlying tables are propagated to related materialized views, they are always consistent
- Materialize results of JOINs / aggregations which are executed very often as a result of execution of dashboards / visualizations from GoodData
- Map materialized views and their columns to datasets and LDM and utilize them in metrics / visualizations / dashboards
Query Timeout
The default timeout value for queries is 160 seconds. If a query takes longer than 160 seconds, it is stopped. The user then receives a status code 400 and the message Query timeout occurred.
Query timeout is closely related to the ACK timeout. For proper system configuration, the ACK timeout should be longer than the query timeout. The default ACK timeout value is 170 seconds.
Permitted parameters
These are advanced JDBC driver properties. In most cases, GoodData UI does not expose or validate them, so use them with caution through the data source API when creating, updating, or testing a connection.
Keep data.attributes.url limited to the base JDBC URL and specify advanced properties in data.attributes.parameters. A parameter being listed here means the JDBC driver accepts it, but it does not guarantee that the related capability is fully supported by GoodData and some values may still cause unexpected errors. Some authentication-related parameters may be accepted by the JDBC driver, even if GoodData may not fully support it.
Example
"attributes": {
  "name": "<data_source_display_name>",
  "url": "jdbc:snowflake://<SNOWFLAKE_ACCOUNT>.snowflakecomputing.com:5432?warehouse=<SNOWFLAKE_WAREHOUSE>&db=<SNOWFLAKE_DBNAME>",
  "schema": "<SNOWFLAKE_SCHEMA>",
  "type": "SNOWFLAKE",
  "username": "<SNOWFLAKE_USER>",
  "password": "<SNOWFLAKE_PASSWORD>",
  "parameters": {
    "role": "<SNOWFLAKE_ROLE>",
    "queryTimeout": "30"
  }
}
The supported parameters for Snowflake data sources are:
- db
- loginTimeout
- networkTimeout
- ocspFailOpen
- passcode
- passcodeInPassword
- useProxy
- proxyHost
- proxyPort
- proxyUser
- proxyPassword
- proxyProtocol
- queryTimeout
- role
- stringsQuotedForColumnDef
- token
- warehouse